

Sale!

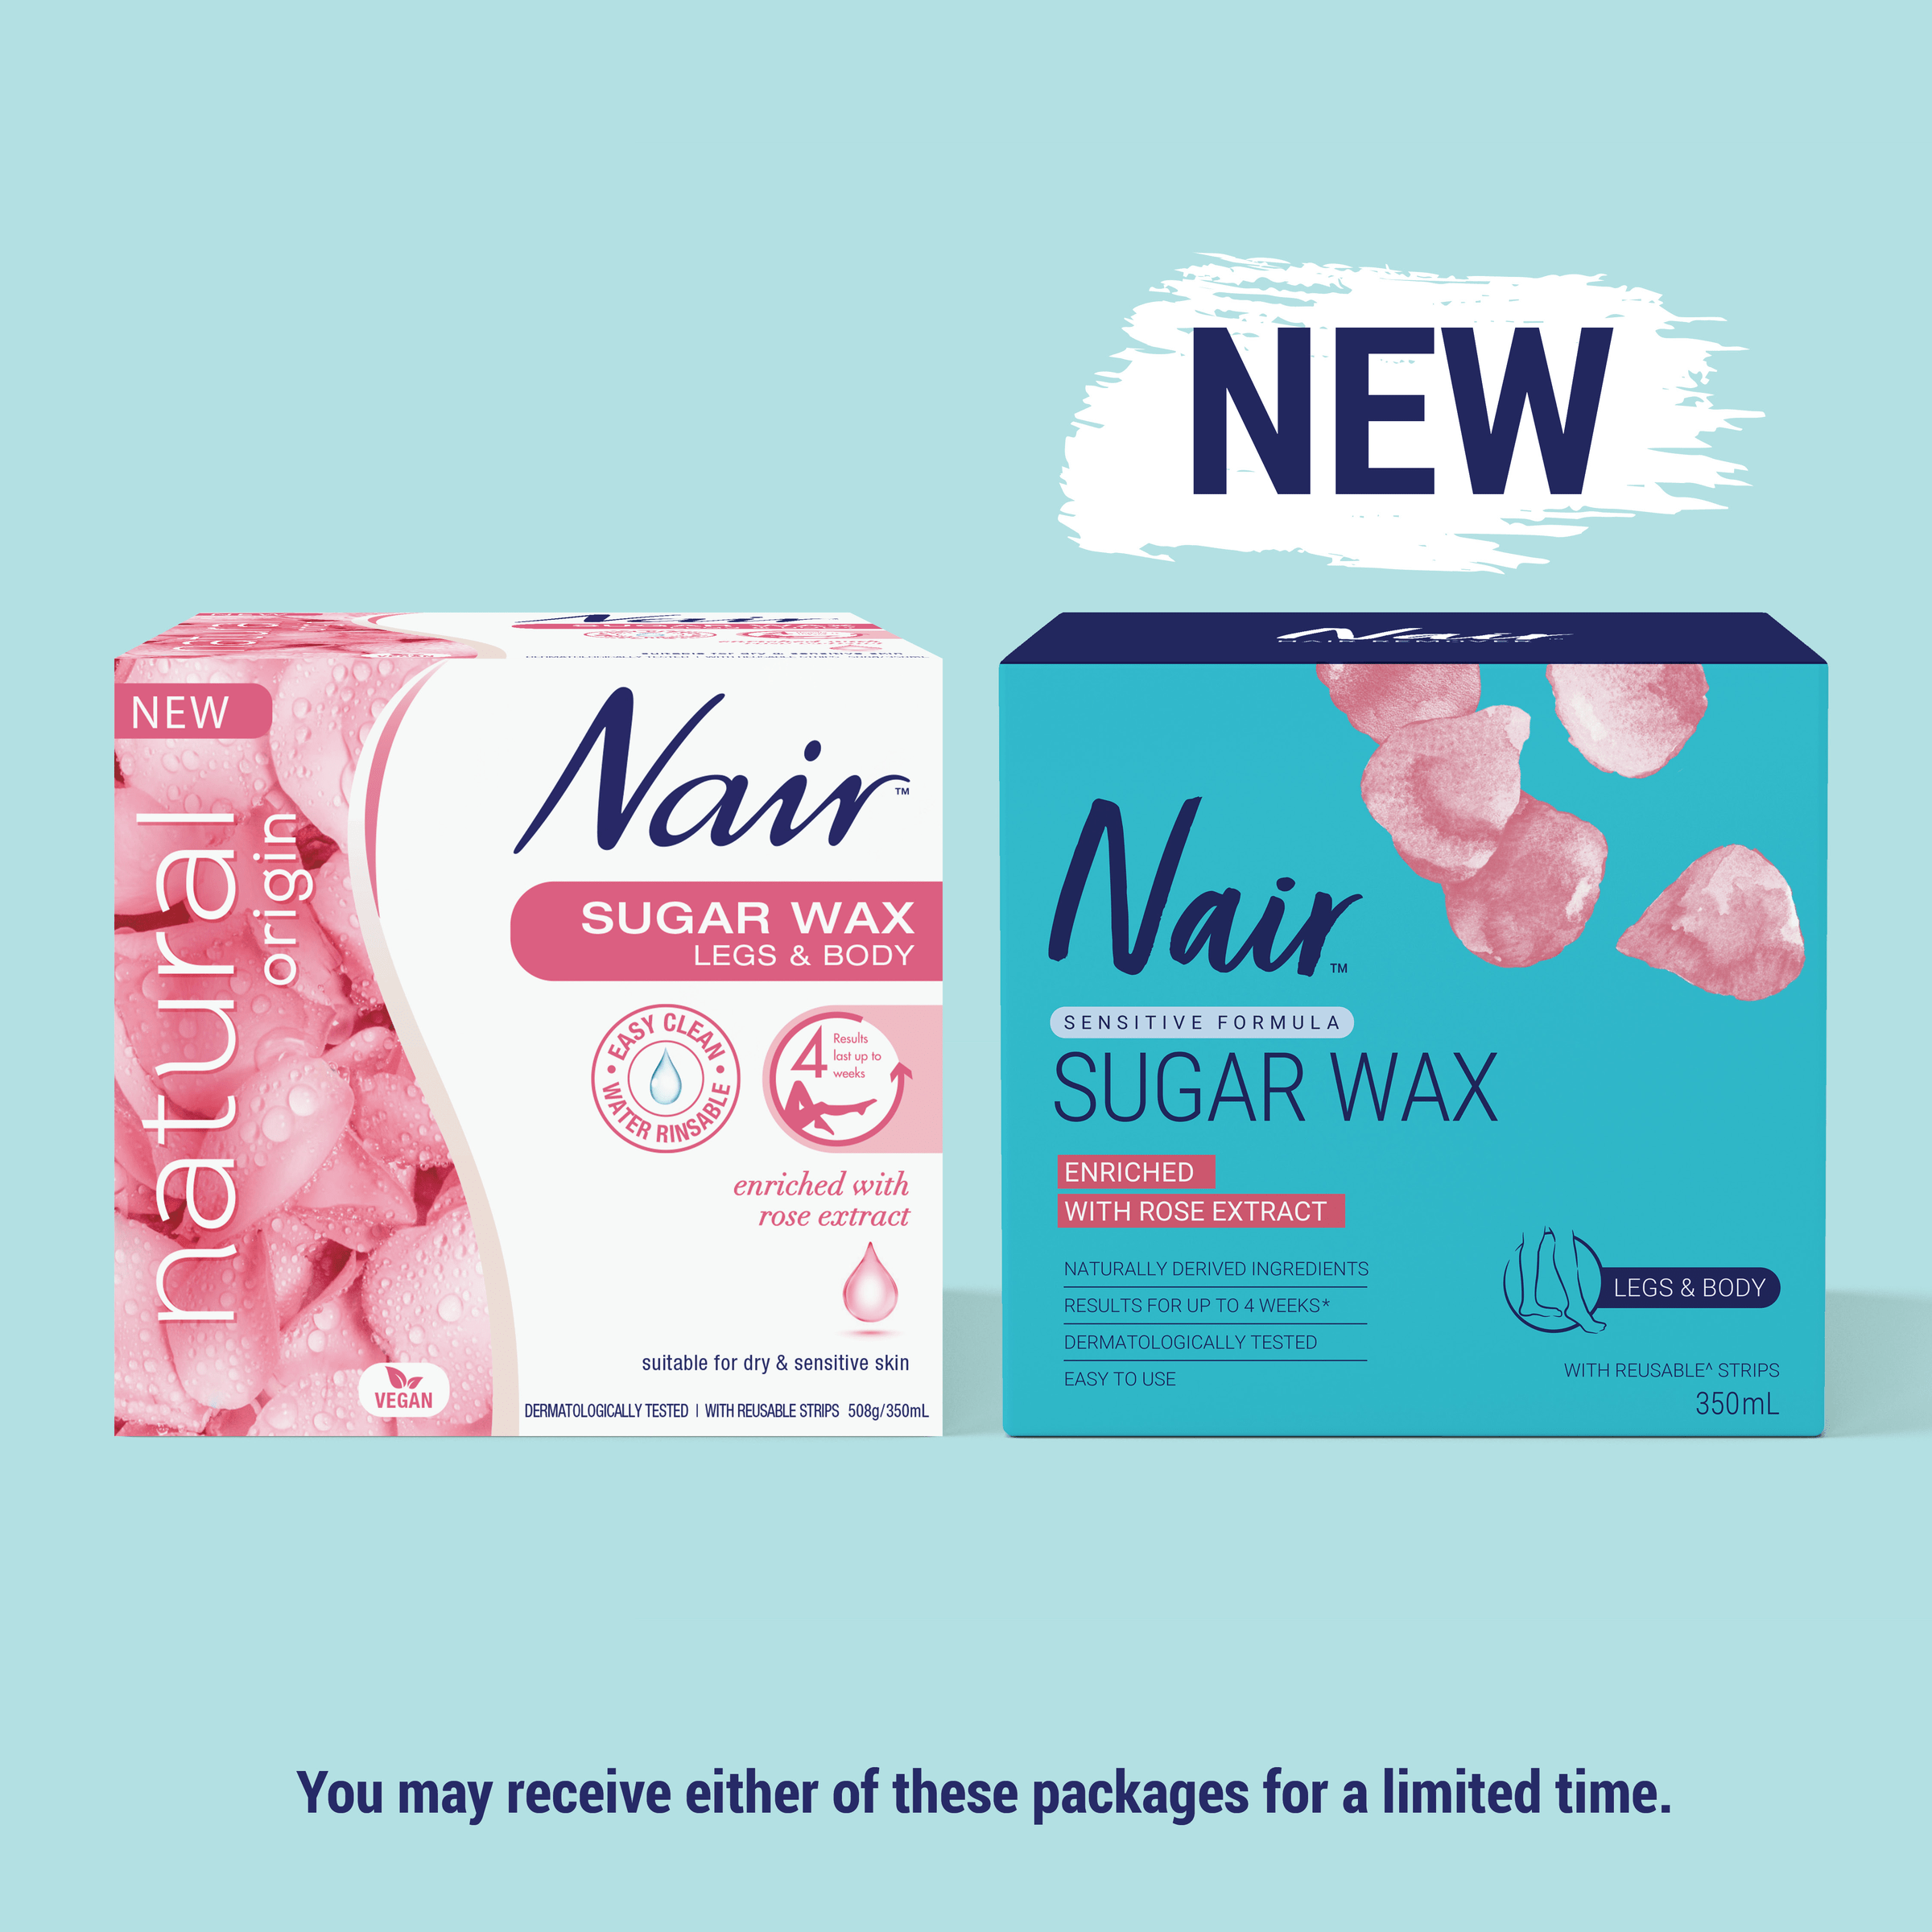
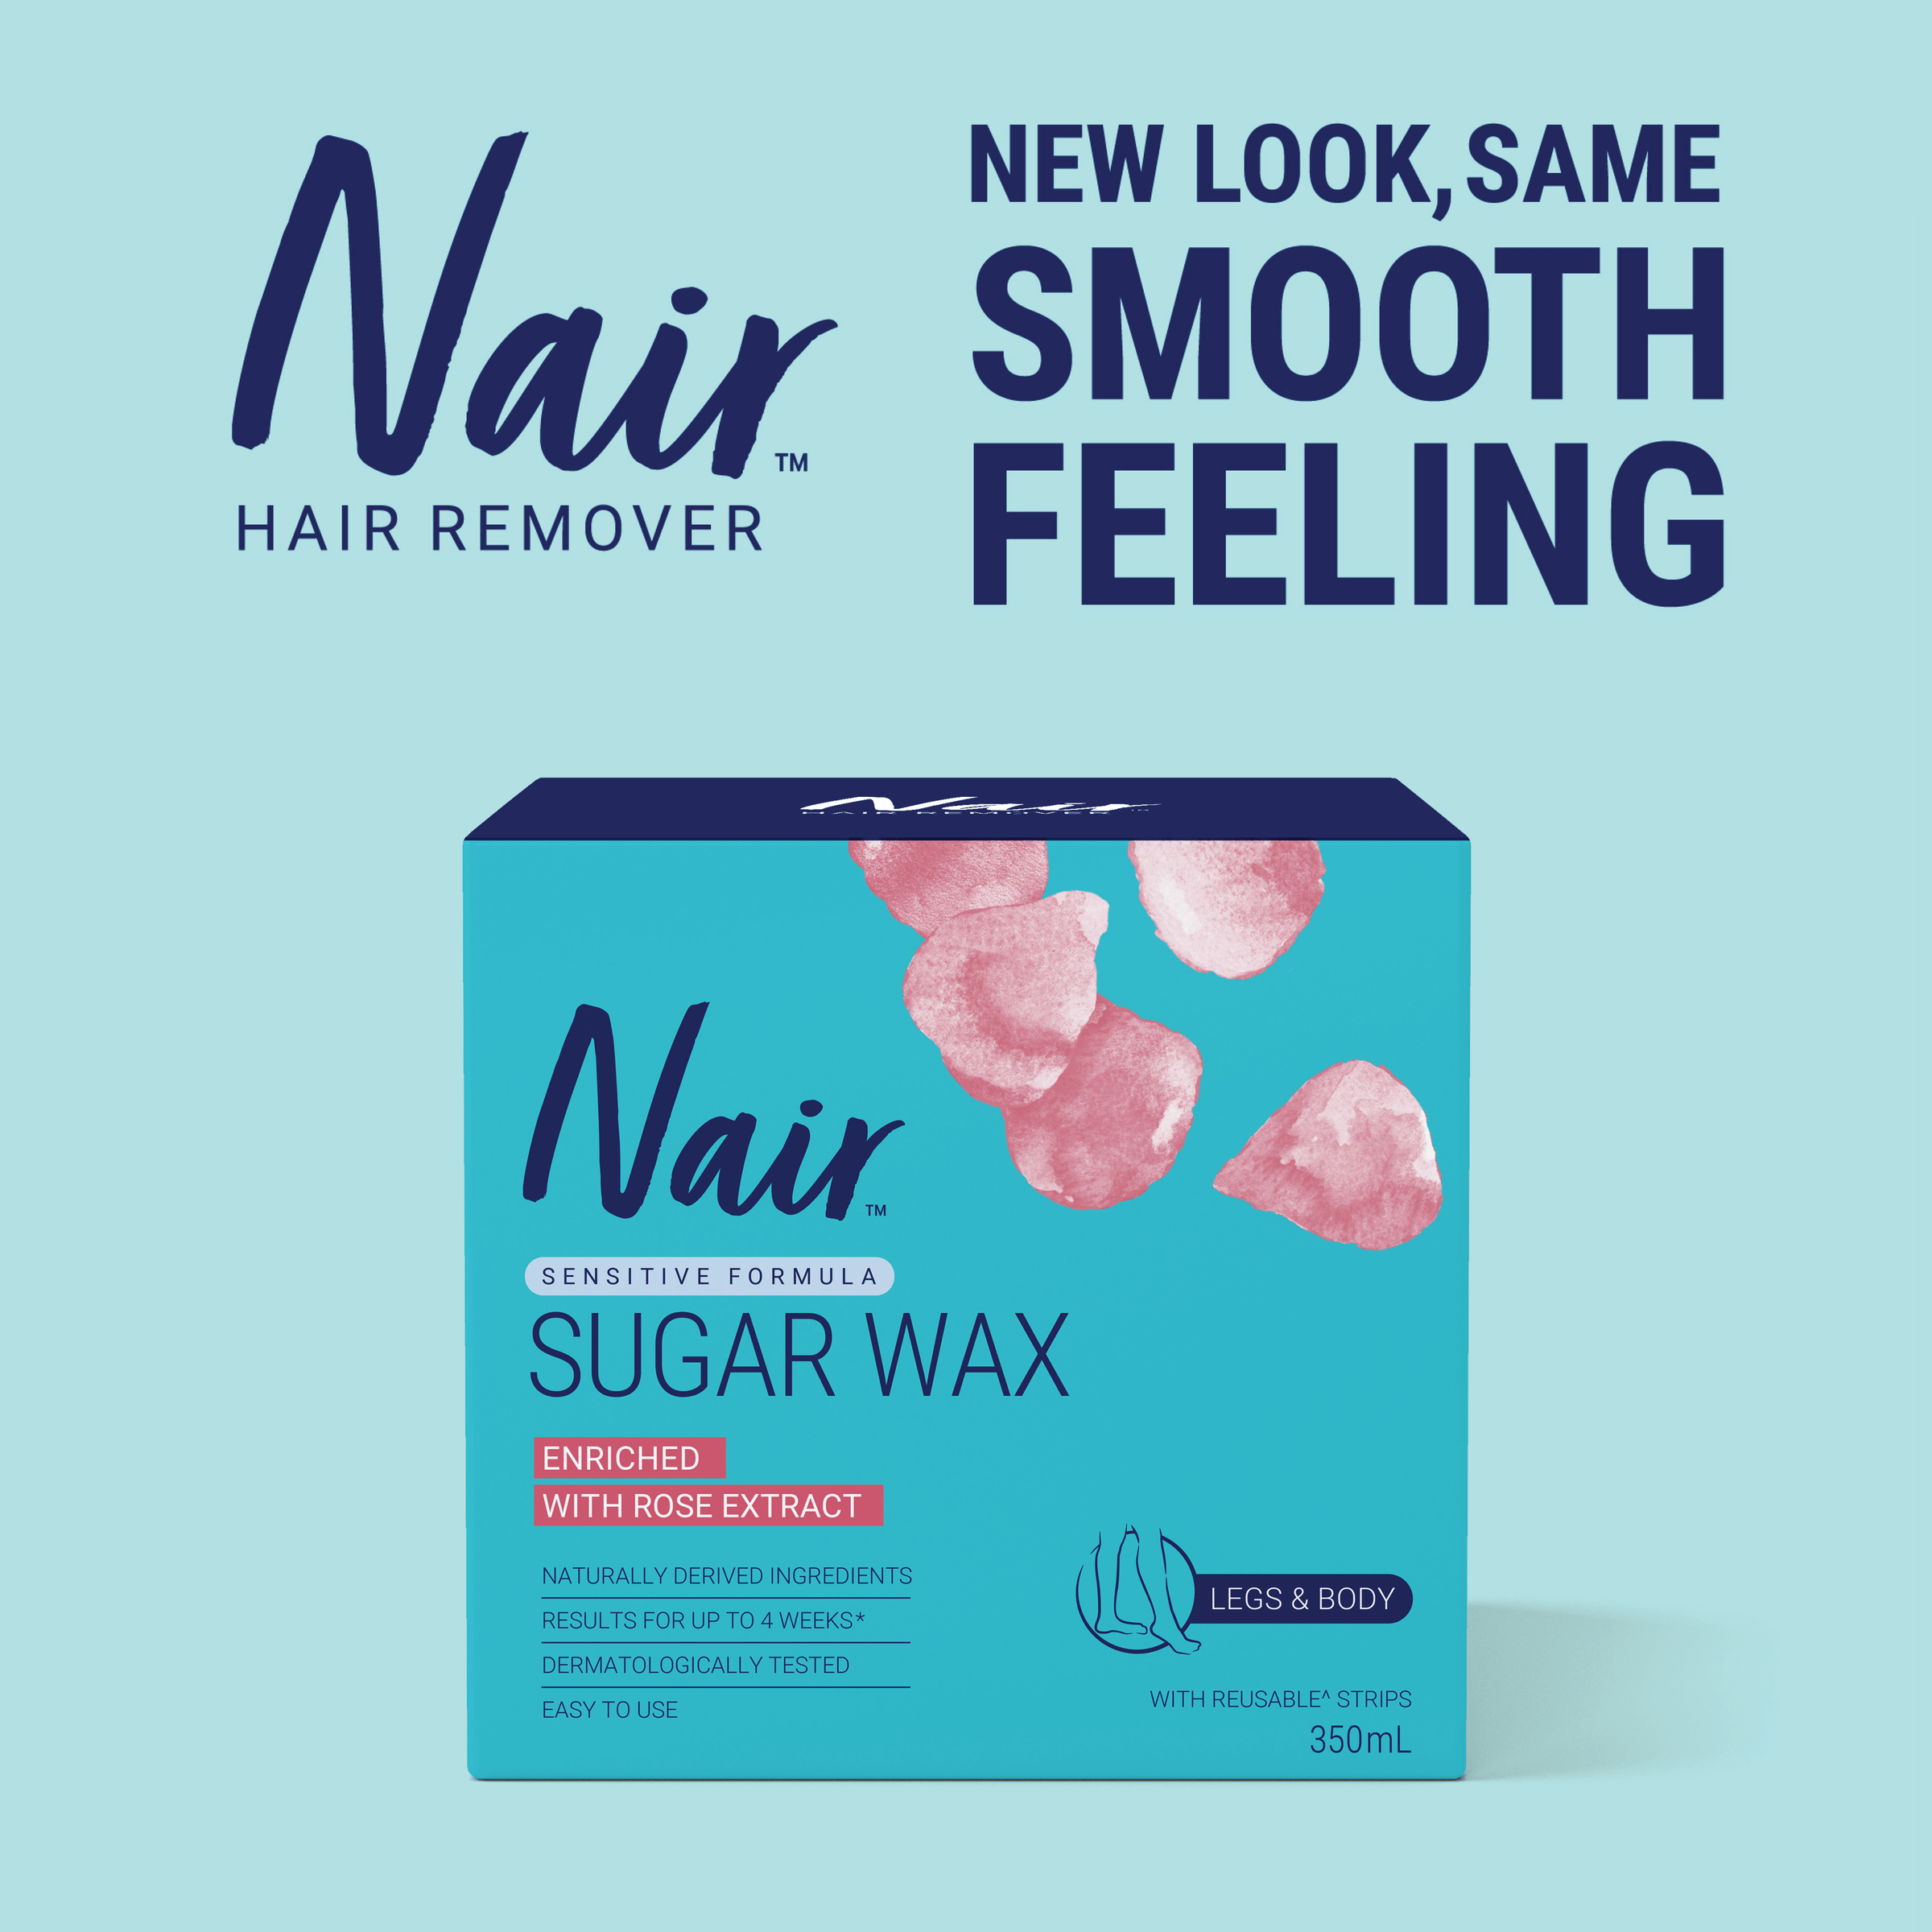
Nair Sensitive Sugar Wax 350ml
Original price was: $17.60.$14.99Current price is: $14.99.
Don't Pay RRP - Save: $2.61
In stock
| Buy 3+ get Extra 2% OFF | $14.69 |
| Buy 6+ get Extra 3% OFF | $14.54 |
| Buy 10+ get Extra 5% OFF | $14.24 |
Frequently bought with

This item: Nair Sensitive Sugar Wax 350ml
In stock
Original price was: $17.60.$14.99Current price is: $14.99.
Original price was: $17.60.$14.99Current price is: $14.99.

1 × Nair Sensitive Hair Removal Shower Cream with Coconut Oil - 357g
Only 2 left in stock
Original price was: $19.20.$16.99Current price is: $16.99.

1 × Nair Cream Hair Bleach for Face and Body 35g
In stock
Original price was: $15.50.$13.99Current price is: $13.99.

1 × Nair Sensitive Wax Ready Strips 40 Pack
In stock
Original price was: $18.20.$15.99Current price is: $15.99.

1 × Nair Soft Natural Large Wax Strips 40 Pack
In stock
Original price was: $20.90.$17.99Current price is: $17.99.

1 × Nair Bladeless Shave Creme Hair Remover 142g
In stock
Original price was: $15.00.$12.99Current price is: $12.99.
Description
Product Info
Remove unwanted hair from the legs and body quickly and easily with Nair’s new sugar wax. Made from 100% naturally derived ingredients including rose extract to hydrate and moisturise dry and sensitive skin, it is naturally fragranced and is dermatologist tested. The sugar wax is water rinsable, so it washes away easily giving you the confidence to achieve salon results at home. Quick and easy to prepare in either the microwave or water bath, it works on hair as short as 2mm so there is no waiting for regrowth and will give you beautifully soft smooth skin for up to 4 weeks.
Instruction for Use
FOLLOW EACH OF THE FOLLOWING STEPS EXACTLY.
IMPORTANT: Always remove the lid and the protective film before heating the wax in the microwave or a water bath. This wax is designed for fast preparation in the MICROWAVE and a WATER BATH. Only use one heating method: either a microwave or a water bath. Do not switch from one method to another, even when you are reusing the product for several different applications. It is a professional wax that requires extreme PRECISION from the user in terms of HEATING TIME AND MIXING
1.1PRIOR CAUTIONS
ALWAYS REMOVE THE LID AND THE PROTECTIVE FILM, MAKING SURE THAT NO
TRACES OF PLASTIC REMAIN ON THE EDGES OF THE JAR.
- All overheated wax can cause serious burns.
- In the event of a burn, immediately rinse the area under cold water for at least 10 minutes. Consult a healthcare professional.
- Ensure that the jar of wax has no visible flaws, deformities or anti-theft tags left on.
- Place the jar in a clean microwave without any other object, including the lid, seal, spatula, cardboard packaging, plate or any other accessory.
- Handle the jar with care after heating the wax as it may be piping hot.
1.2 PREPARING THE WAX
Remove the jar from its cardboard packaging, open the jar and remove the protective film, making sure that no traces of plastic remain on the edges of the jar. Do not let water come into contact with the wax as it will become unusable. Ensure that the jar of wax has no visible flaws or deformities.
1.3 HEATING INSTRUCTIONS
HEATING IN THE MICROWAVE
The jar must be placed off-centre on the revolving plate. Do not cover the jar when heating. Ensure that the microwave is set to the heating function. If using this wax for the first time, heat the wax following the heating times indicated in the table below. Adjust the heating times depending on the amount of wax in the jar. The times given are for information only and may vary according to the power and model of your microwave. If the microwave does not have a digital timer (precisely indicated minutes and seconds), check the heating time using a watch with a second hand.
Watch the product during heating so that you can stop the microwave immediately in the event of abnormal behaviour (sparks, smoke, etc.).
MICROWAVE HEATING TIME*
FULL CONTAINER 45 seconds
HALF CONTAINER 25 seconds
* Indicative heating time for 900W power
After heating, check the appearance of the wax before touching the jar. If, after heating, the wax gives off smoke or has bubbles, or if the jar is deformed in any way, the wax has been overheated. Do not touch the jar: it must be left to cool for at least 25 minutes before handling. In which case, gently touch the jar to make sure that it is not too hot before picking it up.
HEATING IN A WATER BATH
Fill a saucepan with water and gently place the jar in it, making sure that IT DOES NOT FLOAT and that the wax is not in contact with the water. To prevent the jar from floating, make sure that the water level is not higher than the level of wax in the jar. Do not cover the saucepan. Once the water is boiling, lower the temperature to minimum and let the jar heat up, following the instructions in the table below and making sure that there is always water in the saucepan. Do not let water come into contact with the wax as it will be unusable.
WATER BATH HEATING TIME
FULL CONTAINER 7 minutes
HALF CONTAINER 4 minutes
1.4 MIXING THE WAX
Dip the spatula very gently into the wax until it reaches the bottom of the jar. You should obtain an even texture of thick runny honey.
1.5 PATCH TEST
Check the temperature of the wax before any use, applying a small amount of wax to the inside of the wrist with the tip of the spatula (the wax should feel warm and easy to spread in thin layers). If the wax is too hot, let it cool down for a few minutes. For subsequent use of this wax with the same microwave, adjust the heating time required according to your first use. Be sure to follow the instructions in this leaflet before every use.
_____________________________________________________________
STEP 2: HAIR REMOVAL
Before you start, ensure the following is within reach:
- This instructions leaflet
- The wooden spatula
- The non-woven strips
OUR PRACTICAL ADVICE:
Hair removal should ideally be performed in a tiled or protected room, to make it easier to clean any residues of hot wax that could fall on the floor. Place the jar of hot wax on a flat and protected surface (with a newspaper, for example). Any remaining wax can be removed with lukewarm water.
OUR PROFESSIONAL ADVICE:
48 hours before epilating, prepare your skin by exfoliating the area to be waxed, which will make it easier to epilate and prevent the formation of hairs under the skin surface. If this is your first time waxing, we recommend that you wax your legs first. Only wax the sensitive bikini line and underarm areas when you are used to waxing.
2.1 APPLYING AND REMOVING THE WAX
After performing the patch test and checking the even temperature of the wax:
- Dip the spatula into the jar and remove a large walnut-sized amount of wax, twirling the spatula around to stop the wax from running off.
- Apply the wax to the top of the area to be epilated and quickly create a thin and even strip of wax with the flat part of the spatula, in the direction of hair growth. The layer of wax should not be longer than a non-woven strip.
- Quickly place a strip on the layer of wax and smooth it firmly in the direction of hair growth. Always make sure that there is at least 1cm free from wax at the end of the strip to make it easier to remove.
- Hold the skin taut with one hand, and take the end of the strip with the other. Remove the strip quickly in one go, in the opposite direction of application. The strip must be removed as close as possible to the skin. To soothe the skin after removing a strip, immediately place the palm of your hand onto the epilated area, pressing down gently.
N.B.:
a/ If any wax remains on the skin after removing the non-woven strip, re-apply a non-woven strip to remove the residue.
b/ a non-woven strip may be used several times in a row.
2.2 DIRECTIONS PER AREA TO BE WAXED
WAXING THE LEGS
Apply the wax working from the top of the leg to the ankle and remove it in the opposite direction.
WAXING THE UNDERARMS
Waxing the underarms requires two steps, as the hairs grow in two different directions (upwards at the top and downwards at the bottom). Hold the hand behind the nape of the neck to tauten the skin.
- On the upper part of the underarm: Apply the wax towards the elbow and remove the strip in the opposite direction, quickly and as close as possible to the epilated area.
- On the lower part of the underarm: Apply the wax downwards and remove the strip in the opposite direction, quickly and as close as possible to the epilated area.
WAXING THE BIKINI LINE
Apply the wax in the direction of hair growth, generally towards the inner thighs, and remove it in the opposite direction.
2.3 AFTER WAXING
Any remaining wax can be rinsed off with lukewarm water.
- Never use other products (alcohol or acetone) apart from water to remove any remaining wax.
- To remove large amounts of residue, re-apply a used non-woven strip.
- The strips and the spatula can be easily cleaned in lukewarm water.
- It is normal for some light redness to appear after waxing, which will disappear naturally after a few hours. You can apply a compress of cold water for a few moments to soothe the skin.
- Do not scratch your skin after epilation as this may irritate it.
- Avoid any prolonged sun exposure in the 24 hours following epilation to protect against unwanted reactions.
- Wait 24 hours before using deodorant, anti-perspirant, fragrance or any artificial tanning equipment, going swimming or sun exposure.
- To soothe the freshly-waxed area, apply a moisturising cream or oil. If you have some wax left for next time:
- Do not leave the spatula in the jar. Remove as much wax as possible by scraping the spatula against the inner rim of the jar, then rinse it in water.
- Rinse the strips in lukewarm water and let them dry thoroughly. Do not reuse them more than three times.
- Adjust the heating time to the remaining quantity.
- Keep the jar in the cardboard box, along with the instructions leaflet and the spatula for next time.
Ingredients
GLUCOSE, GLYCERIN, SUCROSE, CITRIC ACID, AQUA, ROSA DAMASCENA FLOWER EXTRACT
Precautions
FOLLOW EACH OF THE FOLLOWING STEPS IN THIS INSTRUCTIONS LEAFLET EXACTLY. FAILURE TO COMPLY WITH THE INSTRUCTIONS LEAFLET MAY CAUSE SERIOUS BURNS AND DAMAGE YOUR MICROWAVE.
Any overheating of the wax may cause serious burns.
- IMPORTANT: Always remove the lid and the protective film before heating the wax.
- Heat in a microwave or a water bath only.
- Be extremely careful when using for the first time. The effectiveness of microwaves varies according to brand, power and the position of the product on the revolving plate. The heating time is given for information only and should be adjusted depending on your microwave.
- Store in a cool, dry place away from direct sunlight. Store in its pack.
- KEEP OUT OF REACH OF CHILDREN.
- Only apply to healthy skin. Do not apply the wax to the face, wounds, cuts, eczema, spots, beauty spots and moles, slack, chapped, damaged, sunburnt or irritated skin, varicose veins, warts, mucous membranes, the nose, ears, nipples, peri-anal and genital areas or the eyelashes. Do not apply to skin that has previously reacted to the use of hair removal wax.
- Not suitable for diabetics, the elderly, or people suffering from circulatory disorders.
- Avoid contact with the eyes. In the event of contact, rinse immediately and thoroughly with cold water and immediately consult a healthcare professional.
- Do not ingest. If ingested, consult a healthcare professional and show them the entire product. Skin should be dry and without any traces of oil, cream, lotion or sweat. In hot, humid weather, sparingly apply talc to the areas to be epilated.
- Ask your healthcare professional for advice before waxing if you are currently following a treatment that may affect your skin or if you suffer from skin disorders.
- PATCH TEST: Before use, test your skin’s reaction by applying the wax to part of the area to be waxed, following the instructions leaflet. If the skin appears normal after 24 hours, proceed with hair removal.
- It is not recommended that you apply wax more than three times to the same area during a single waxing session.
- After waxing, it is recommended that you wait 24 hours before using anti-perspirant, fragrance or any scented product, any artificial tanning equipment, going swimming or sun exposure.
- Do not wax within an hour following a bath or shower, as the skin is still too warm or too damp.
- Leave at least 72 hours between waxing sessions.
- It is normal for some light redness to appear after waxing, which will disappear naturally after a few hours. You can apply a compress of cold water for a few moments to soothe the skin. If you continue to feel discomfort over the next 24 hours, you are recommended to consult a healthcare professional.
- Do not scratch your skin after epilation as this may irritate it.
- In the event of a burn, immediately rinse the area under cold water for at least 10 minutes and consult a healthcare professional.
Delivery & Returns
Online Change of mind returns
If you wish to return an item because you have changed your mind about your purchase, Pharmacy Junction will offer you an exchange or refund provided that:
- You return the item within 30 days of purchase
- You produce your original Pharmacy Junction register receipt, online tax invoice or other adequate proof of purchase at the time you return the item.
- The item must not have been used or damaged in any way including that
- It is in its original packaging including manuals, pamphlets, and all accessories.
- It is unopened, unused and in its original saleable condition
- The product is not one on which a change of mind return is not available (https://www.pharmacyjunction.com.au/returnspolicy/).
If these requirements are not satisfied Pharmacy Junction reserves the right not to offer an exchange or refund for change of mind returns.
Return postage costs will have to be paid by the customer and any postage paid will not be refunded. In the case that free shipping is offered, an $10 fee is deducted from the refund as postage is at our expense.
Pharmacy Junction uses Australia Post OR Courier Please for all deliveries. All parcels will be delivered to the provided address and may require a signature on receipt. It is recommended to provide a work address for delivery if no one is home during business hours, as Australia Post & Courier Please will leave a card with collection point details.
Orders will be packaged in plain boxes and unmarked for privacy and security.
Pharmacy Junction will dispatch most orders within ONE business day Monday to Friday assuming all items are in stock. All other orders will be dispatched as quickly as possible thereafter. You will be notified via email or phone if there are any delays in obtaining any items on your order. Please contact us if you would like an alternative product or other arrangement.
Related products
-
Sale!
-
Sale!
-
Sale!

-
Sale!

-
Sale!
-
Sale!

-
Sale!

-
Sale!

-
Sale!

-
Sale!
-
Sale!

-
Sale!
